Family Tree Google Slides Template with Photo Circles
This family tree Google Slides template is one widescreen slide of three generations, with a circle for a photo above a box for the name and years of each of nine relatives. Download it as a PowerPoint file, open it in Google Slides in your own Google account and type over the labels. The steps below open the file, put a photo in a circle, add a relative, print the slide and share it.
The PPTX is free and downloads without an account. Google Slides opens it in your own Google account, and the file stays in your Drive.
The template slide
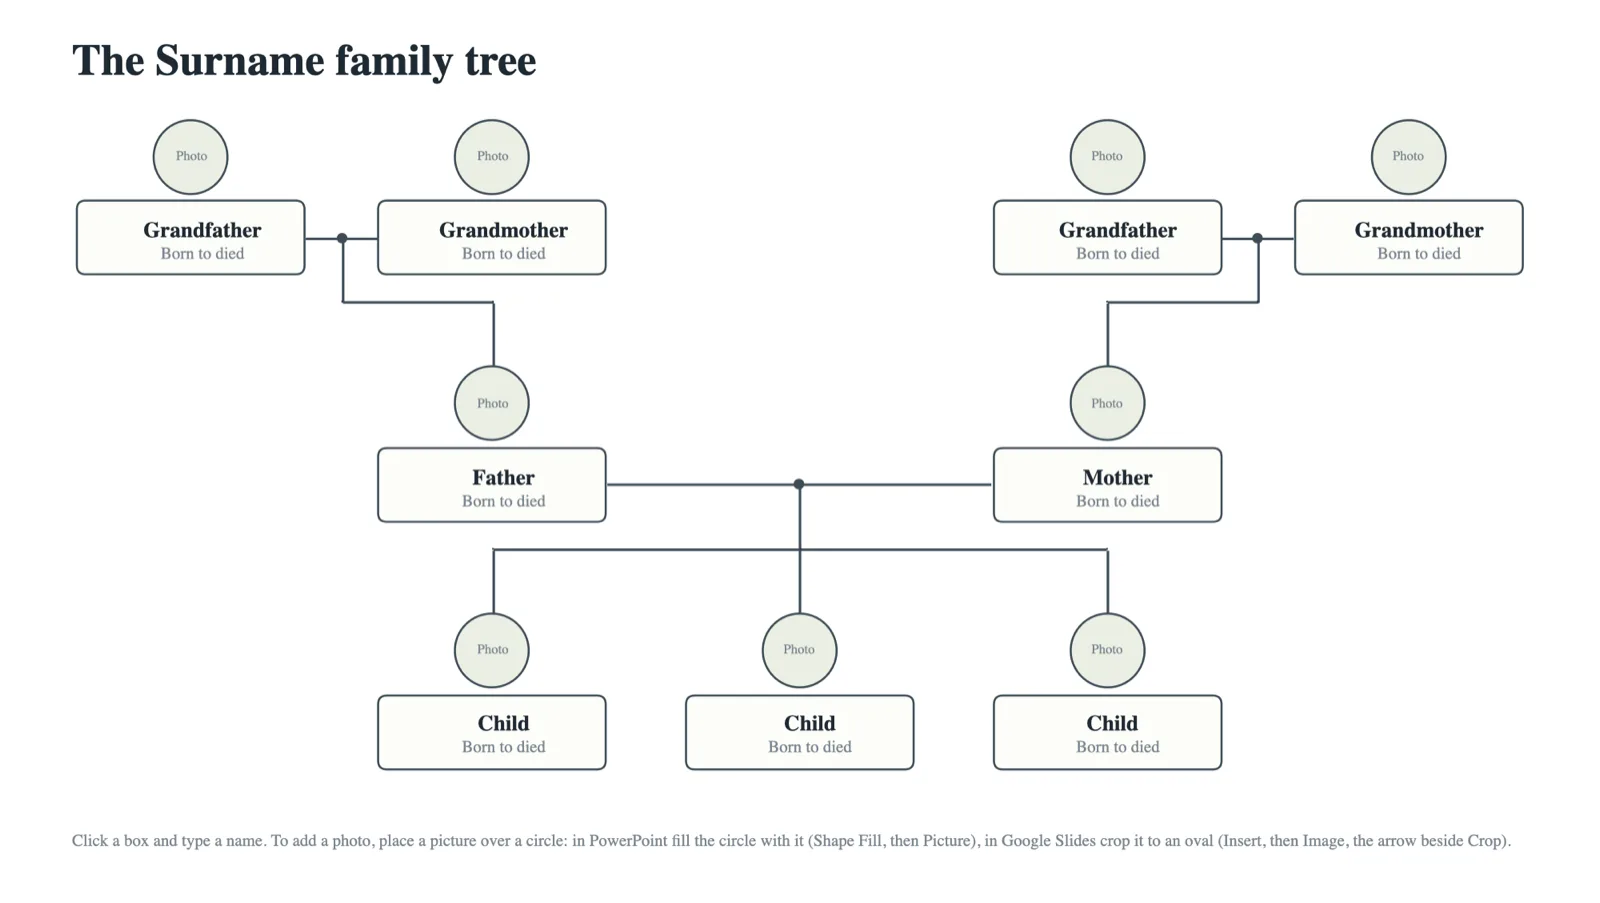
The slide holds three generations and nine people
The template is one 16:9 slide titled The Surname family tree. The top row has two couples of grandparents, the parents of the father on the left and the parents of the mother on the right. The middle row has the father and the mother, and the bottom row has three children. Each person is a grey circle marked Photo over a rounded box that reads Grandfather, Grandmother, Father, Mother or Child, with Born to died under the name.
A line joins each couple, and from a dot at its middle a line runs down to the children. Each line is a separate, straight piece set by its position, level or upright, so Google Slides draws the same right angles as PowerPoint.
The grey note at the foot of the slide gives the photo steps for PowerPoint and for Google Slides in one line. Type your own note over it or delete it before you print.
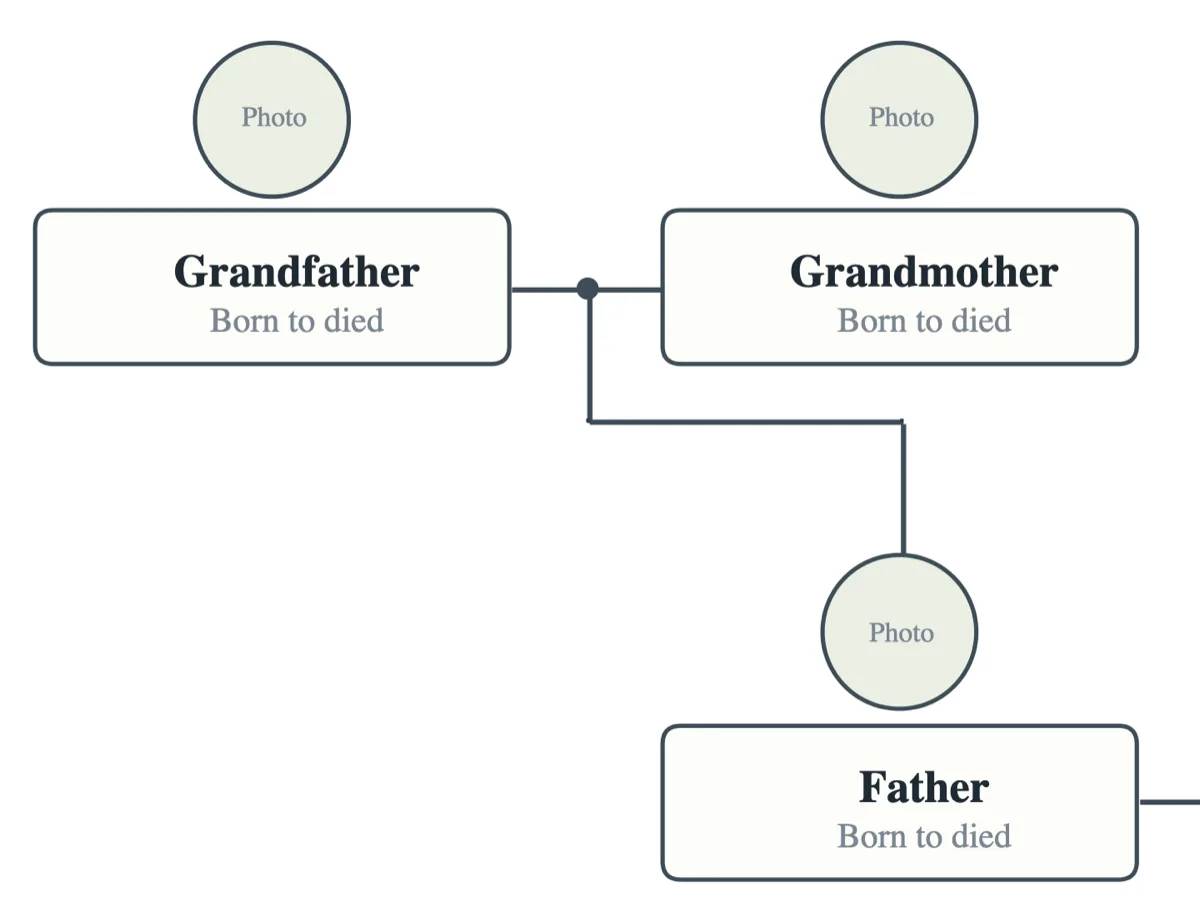
Open the PPTX in Google Slides in your own Google account
Google Slides opens the downloaded PPTX from your own Google Drive, where the file and the names you type stay private until you share them.
- Upload it to Drive. On your computer, go to drive.google.com, click New, then File Upload, and choose family-tree-template.pptx from your downloads.
- Open it with Google Slides. In Drive, double-click the file and a preview opens. At the top, click Open with Google Slides. Changes are saved to that PPTX in your Drive, and the file in your downloads stays as it was.
- Keep it as a Google Slides file. Open a presentation, or click Create on the Slides home screen. Click File, then Import slides, choose the PPTX from Drive or upload it from your computer and click Select. Click the slide, check Keep original theme so it comes in as drawn, and click Import slides.
- Clear the empty slide. A new presentation starts with a blank title slide. Click it at the left and press Delete or Backspace.
The slide is copied in, so the PPTX is not changed, and the same steps add the tree to a talk you already have.
Google help for these steps, Upload files & folders to Google Drive, Switch from Microsoft PowerPoint to Google Slides, Tips for great presentations, Create, view, or download a file, Add, delete and organize slides
Type each name and its years over the labels
Click a box once to select it and again inside its text to place the cursor. Select the word Grandfather and type the name, then select Born to died and type the years, such as 1928 to 2011. Change the title the same way, with the family name in place of Surname. If a long name crowds its box, shorten a middle name to its initial.
Put a photo in a circle by masking it in Google Slides
In Google Slides the photo goes in as an image of its own, masked to an oval and laid over the grey circle, which then shows as a dark ring around it.
- Insert the photo. Click Insert, then Image, choose where the photo comes from, such as your computer or Google Drive, and click Insert or Open.
- Mask it to an oval. With the photo selected, click the Down arrow next to Crop at the top and click the oval. Drag the colored handles to make the oval a circle around the face.
- Size and place it. Drag a corner until the photo is a little smaller than the grey circle, then drag it over the circle. Snap to Guides is on by default, so colored lines appear when the two line up.
- Bring it to the front. If a line or the circle covers the photo, click Arrange, then Order, and bring the photo in front.
- Change it later. Right-click the photo, click Replace image and choose where the new photo comes from.
A person without a photo keeps the grey circle. To color it instead, select the circle and click Fill color in the toolbar. One color for the side of the father and another for the side of the mother tells the two families apart.
Google help for these steps, Insert or delete images and videos, Crop and adjust images, Insert and arrange text, shapes, diagrams, and lines, Change the color of text, objects, and backgrounds
Add a relative by copying a person and drawing a line
A fourth child, an uncle or an aunt fits beside the others as a copy of an existing person.
- Copy a person. Click a circle, hold Shift and click its box, then press Ctrl + c and Ctrl + v, or ⌘ + c and ⌘ + v on a Mac. Drag the new person to its place.
- Group the two shapes. With both selected, click Arrange, then Group, so the person moves as one piece.
- Draw the line. Click Insert, then Line, and drag from the bar of the parents down to the new circle.
- Line up the row. Select the people of one row and click Arrange, then Align, to set them level, or Distribute to space three or more evenly.
The lines are not attached to the boxes, so after you move a person, drag the ends of its lines back into place.
A fourth generation will not fit on the slide at a readable size. Right-click the slide at the left and choose Duplicate slide, then use the second slide for the parents of one grandparent.
Google help for these steps, Keyboard shortcuts for Google Slides, Insert and arrange text, shapes, diagrams, and lines, Add, delete and organize slides
The family tree Google Slides template also opens in PowerPoint
The download is one PPTX file for both programs, and the steps differ in where the file lives and how a photo goes in.
| Task | In Google Slides | In PowerPoint |
|---|---|---|
| Getting the file | Upload the PPTX to your Google Drive and open it with Google Slides | Open the downloaded PPTX in PowerPoint |
| Adding a photo | Insert an image and mask it to an oval | Select the circle and choose Shape Fill, then Picture |
To draw a genogram from shapes in PowerPoint, follow the PowerPoint genogram guide. The guides for Word and Google Docs put a chart inside a written document.
The free family tree maker grows a tree past one slide
On a slide each new relative is a copied shape and a line placed by hand. In the free family tree maker you select a person and choose Add parents, Add a partner, Add a child or Add a sibling, and the new person is set in the right row with the lines drawn.
A tree of up to 50 people is kept in your browser without an account, and each person can carry a photo in a round medallion. Keep the slide for a class or a family reunion, and move to the editor when the tree needs a fourth generation or cousins on both sides.
Common questions
The family tree Google Slides template is free
The PPTX costs nothing and downloads without an account. Google Slides needs a Google account, and the file is kept in the Drive of that account.
Whether the slide is a genogram
It is a family tree, which records who is related to whom. A genogram adds the symbols for health, relationships and events, and the three-generation genogram template draws the same rows as a genogram.