Ancestry shares a tree through one invitation for each person
On Ancestry a tree is shared by invitation. To share a family tree on Ancestry, the owner of the tree sends an invitation, and the invitation carries a role that decides what the person can do. The Sharing a Family Tree article says that friends and family need an Ancestry account to view a tree you share, and that they can create a free one.
The website offers three ways to invite. An invite link is copied and sent in any message. An email invitation goes to an address you type. A display name invitation goes to someone who already has an Ancestry account. The app offers the link only. Ancestry notes that each person needs their own link, so send a separate link to every relative.
- Open a tree you own
Sign in on the Ancestry website and go to the tree. The invite steps start from a tree you own.
- Open the invite window
In the toolbar on the left, select “More”, the three dots, then select “Invite”.
- Choose how to share
Select “Invite link”, “Email” or “Display name”.
- Choose a role
In the “Role” menu, choose Guest, Contributor or Editor for this person.
- Send it
For a link, select “Copy link” and paste it into a message. For email or a display name, select “Send Invites”.
Genogram Builder
Send a chart instead of an account
A relative without an Ancestry account can still see the family. Import the GEDCOM file, export a PDF and send it.
- Opens a GEDCOM file inside a ZIP file
- PDF and PNG with a free account, with a watermark
- No invitations or shared editing
The role decides who can edit and who can see living people
Choose the role before you send the invitation, because it sets what the person can do in your tree. The Who Can Edit Your Ancestry Tree article gives the same three roles as the sharing article. Only the Editor role sees living people without a further step from the owner.
| Role | What the person can do | Living people |
|---|---|---|
| Guest | View the tree and add comments | Not shown automatically |
| Contributor | View the tree and add comments, photos and stories, without editing or removing what is there | Not shown automatically |
| Editor | Add people, records, comments, photos and stories, and edit or remove existing content | Shown automatically |
Sharing a family tree on Ancestry in the app works by link only
In the app the steps are shorter and there is one way to share. Open a tree you own and tap the “More” icon in the bottom right corner. Tap “Invite”, choose the role, then tap “Create link”. Send the link in a message to one person and repeat for the next relative. The Managing a Tree in the Ancestry App article describes the same “Invite” control with a swipe to choose Guest, Contributor or Editor.
The app has no option to invite by email or by display name. When a relative should receive an email invitation instead of a link, use the Ancestry website on a computer, or open the website in the browser of a phone.
The person you invite opens the tree from the Trees tab
An email invitation holds a “View tree” button. The person selects it, signs in or creates a free Ancestry account, and the tree then appears under the “Trees” tab of their account. A link sent in a message leads to the same sign-in. Tell the relative to expect this step, since many people stop at the sign-in page and think the link has failed.
A free account opens a tree you were invited to. The sharing article answers two common worries plainly. Sharing a tree does not merge it with another tree, and an invited person cannot merge their own tree into yours. Removing a tree that someone shared with you only removes it from your own account.
Change a role or end access from Tree Settings or the app
On the website, open the shared tree and select “More”, then “Tree Settings”, and open the “Invitations” tab. Each invited person is listed there. Change the role, or the ability to see living people, or select “Remove” to end access, then select “Save Changes”. This is also where the owner gives a Guest or a Contributor permission to see living people, since the invite window itself has no such setting.
In the app, tap your profile icon in the top left corner, then under “Manage tree” tap the tree name. Under “Invitations”, tap the person. Swipe to a new role and tap “Update access”, or tap “Revoke access” and confirm with “Revoke”. Ancestry’s app article does not describe a setting for living people, so make that change on the website.
| Task | Ancestry website | Ancestry app |
|---|---|---|
| Invite someone | “More”, then “Invite”, by link, email or display name | “More” icon, then “Invite”, by link only |
| Change a role | “Tree Settings”, then the “Invitations” tab | Profile icon, “Manage tree”, then “Invitations” |
| Let a Guest see living people | The “Invitations” tab of “Tree Settings” | Not described in Ancestry’s app help |
| End access | “Remove”, then “Save Changes” | “Revoke access”, then “Revoke” |
Inviting someone leaves the privacy setting of the tree unchanged
Sharing a family tree on Ancestry and setting its privacy are separate steps. The sharing article says that inviting someone does not change the privacy setting of your tree. The Family Tree Privacy article lists three settings. A public tree is visible to anyone with an Ancestry membership. A private, searchable tree appears in search and hints with limited details, such as the number of people and the names of people who have died. A private, unsearchable tree does not appear in search or hints at all.
To change it on the website, open “More”, then “Tree Settings”, and the “Privacy Settings” tab. Choose “Public Tree” or “Private Tree”. For a private tree, tick “Also prevent your tree from being found in searches” to make it unsearchable, then select “Save Changes”. In the app, open the tree under “Manage tree”, choose “Public” or “Private” under “Privacy”, and use the “Show in Search” switch. On Android, tap “Save”.
Ancestry states that the change takes effect at once, but that search can take about a month to catch up. Items that other members saved from your tree while it was public stay in their trees after you make yours private.
Details of living people stay hidden even in a public tree
The Living People in Family Trees article says that living people are fully visible only to the owner, unless the owner shares the tree with someone. A Guest or a Contributor sees them as private until the owner allows it, and an Editor sees them as part of the role. Ancestry treats a person as living unless the tree says otherwise, and its checks include the status in the tree, a death date and an age under 100.
Before you send an Editor invitation, check which living cousins, children and partners are in the tree. Mark a person as deceased only when that is true, because Ancestry says the details of people marked as deceased may be visible to others unless the tree is private and unsearchable.
A chart file reaches relatives who will not open an account
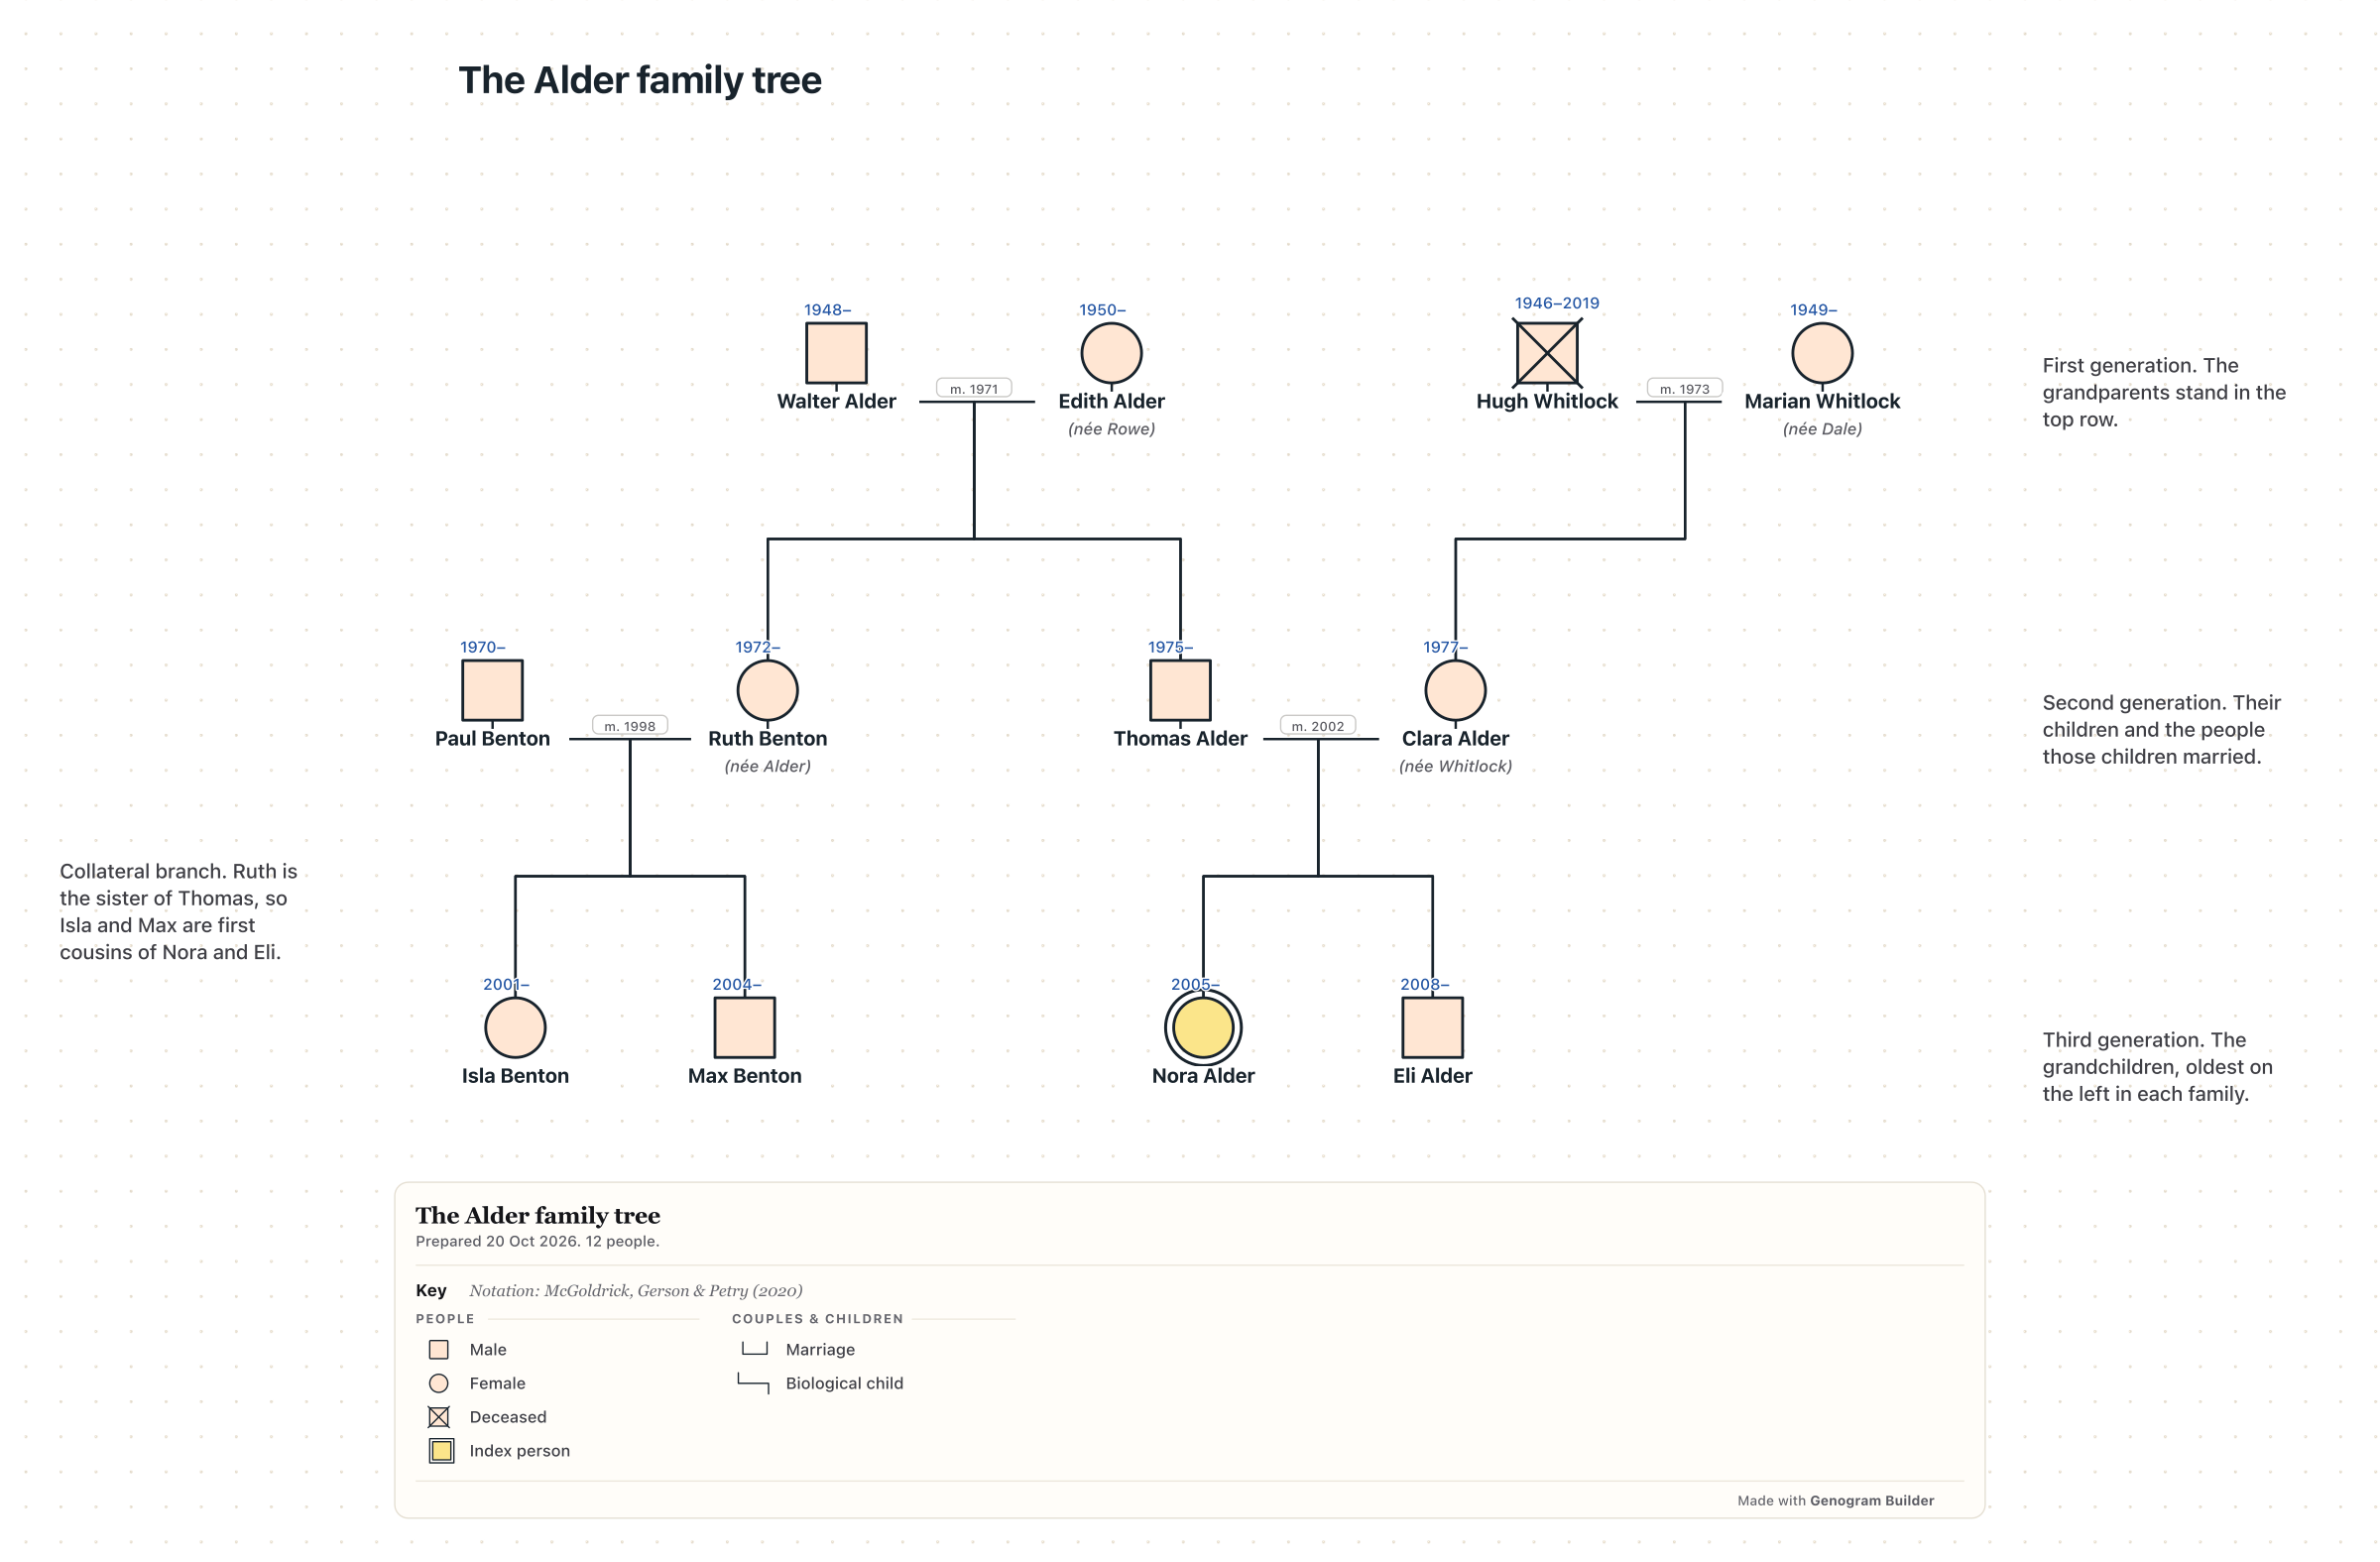
Some relatives will never create an Ancestry account. For them, send a picture of the family instead of an invitation. Genogram Builder has no invitations and no shared editing, so it does not replace sharing a family tree on Ancestry. It does turn the tree into a chart you can send.
Export a GEDCOM file of your tree from Ancestry’s “Tree Settings”. Ancestry delivers it inside a ZIP file, and the editor opens a ZIP file that holds a GEDCOM file without unpacking it first. Open the editor, choose Export, then Import a family file, or drop the file on the canvas. The import shows how many people it found. One chart holds up to 1,000 people, so for a large tree choose One person’s family, pick the person at the centre and up to five generations above and below.
With a free account you can export the chart as a PDF or a PNG with a watermark, and as a JSON project or a GEDCOM file. To send a chart without the names of living relatives, follow Replace names with numbers before you export.
Common questions
Whether the person you invite has to pay
No payment is needed to view a tree you were invited to. The person needs an Ancestry account, and Ancestry’s sharing article says a free account is enough.
Sharing with a relative who has no Ancestry account
Ancestry requires an account to open an invitation. Send a printed chart or a PDF instead, and keep the full tree on Ancestry.
Stopping a relative from seeing the tree
On the website, open “Tree Settings”, then the “Invitations” tab, select “Remove” beside the person and save. In the app, use “Revoke access”.
Sources and methodology
We make Genogram Builder. We used the references below for this guide. Last checked on 11 November 2026.
Import the GEDCOM file of your Ancestry tree and export a chart for the relatives who will not open an account.